‘The Old Quarry’ – a new small layout, for exhibitions.
The Old Quarry is due to appear at the BRM Exhibition, Doncaster Racecourse, on 12 – 13 February 2022.
I recently (July 2021) attended the Amberley Working Museum’s Rail Gala, with our local 009 Group. I was persuaded to take a small layout, which I have been working on for many years, to show there. As it was only partly finished, I had a couple of months to get it to exhibition standard. I wrote about it on the Narrow Gauge Railway Modelling Online forum, and have adapted the text to put here.

The layout was started many years ago, as an excuse to use up some Jouef track from the 1970/80’s, which came with a set including the Contractor’s loco. I disposed of the loco also a long time ago, but believe some of the small wagons are still in my collection. I saw the layout as a chance to run “heritage” Egger/Jouef and Minitrains (original) stock, where they may not be appropriate for my main layouts. I recall that my original design was a small circle, in the confines of an ex music centre record turntable box! I soon decided to add a slightly larger board on top, giving around 2ft 8in width and 15.5in depth. I soon obtained, and included, some Jouef points, to make a passing loop – the points leading to the siding on the left are dummy, hand-made. At the rear, the ‘Fiddle Yard’ comprised the curves, leading to a short straight, including a redundant Peco code 55 N point, which leads to a siding.

This recent photo shows the rear of the layout. The FY point is operated by a slide switch, which in my time honoured fashion, also changes the frog polarity. The track to the right is isolated just as it enters the scenic area. Obviously, the siding is isolated by the points being set against it. The small silver toggle switch is single pole, double throw, centre OFF. Since the Jouef points are dead frog, and permanently energise both routes, it has been necessary to isolate both loops, and feed these via the switch, so that either front or rear loop can be energised, or both left Off. In this way, I can run trains round the circle; swap them in the front loop; or exchange for a new train from the FY siding.
Photos of the layout under construction are all but non-existant! Here is one from July 2015 –
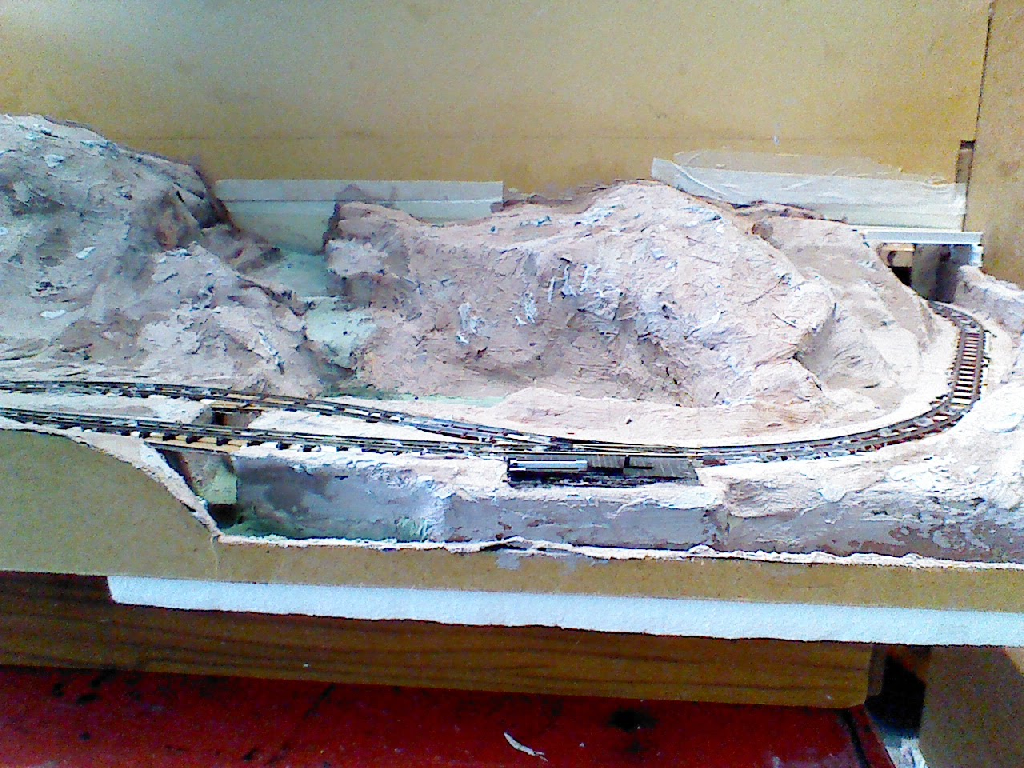
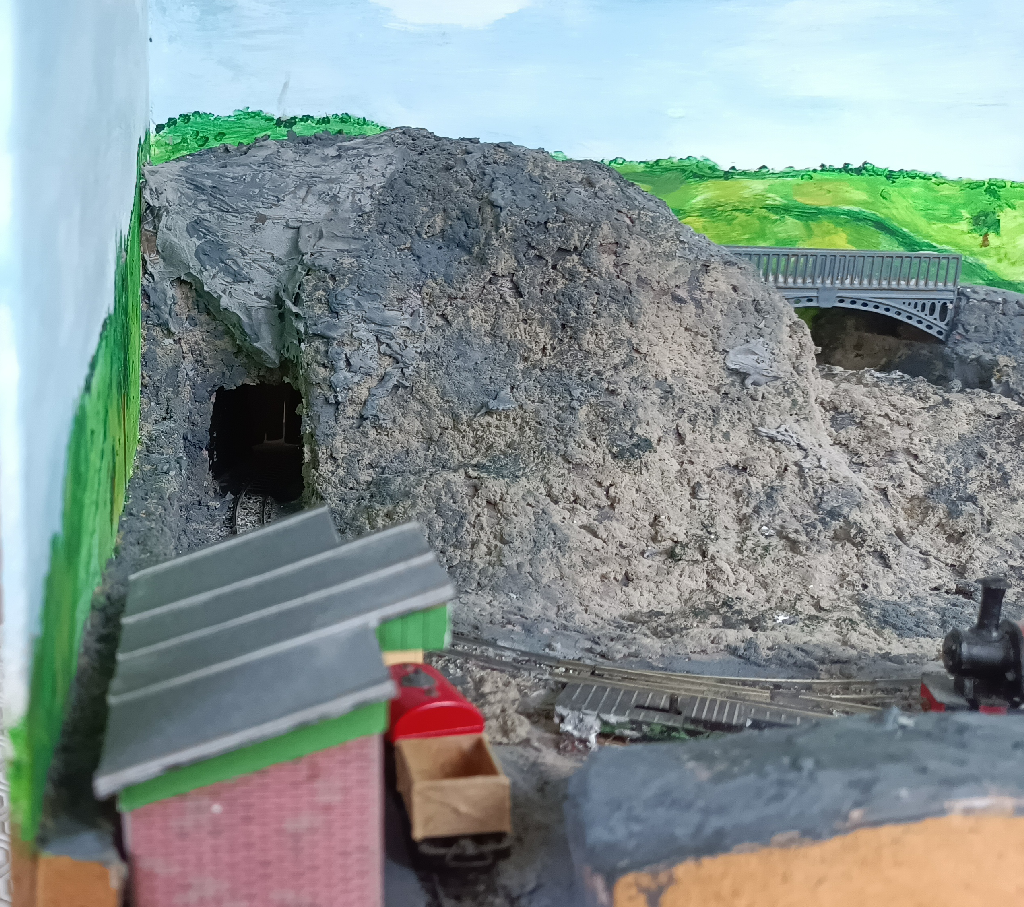
As you can see, the terrain has started, using plaster over expanded polystyrene. The next stage was to use “Hydrofibre” to produce an “earthlike” texture. I have no photos of this stage, but this is a picture of the result, once painted.

The micro remained in this state for some time. The river cascading down the hillside and entering the lake was next. This used Mod Podge and acrylic gloss medium, and was successful. I then attempted to fill the lake, using some clear resin. Whether I failed to mix correctly, or in the right proportions, or whether the resin had gone off with age, I am not sure. However, it did not set, leaving a sticky mess. I believe I alluded to this on the Forum, where someone else had the same problem. Having excavated the mess, I then returned to the mod-podge/gloss medium method, and found this totally satisfactory. I practiced my backscene painting with a nondescript scene, and added bridges over river and the exit to the right of the scene. However, progress on this was spasmodic. Until, that is, Amberley decided that their Gala Weekend would go ahead for 2021, albeit on a smaller scale, and requested our Sussex Downs Group, who usually put on a display on behalf of the 009 Society, to bring “small” layouts. I duly offered the micro, in bare state, and was accepted, so had around 6 weeks to complete scenery and make it presentable! ![]()
At this time, it looked like this –


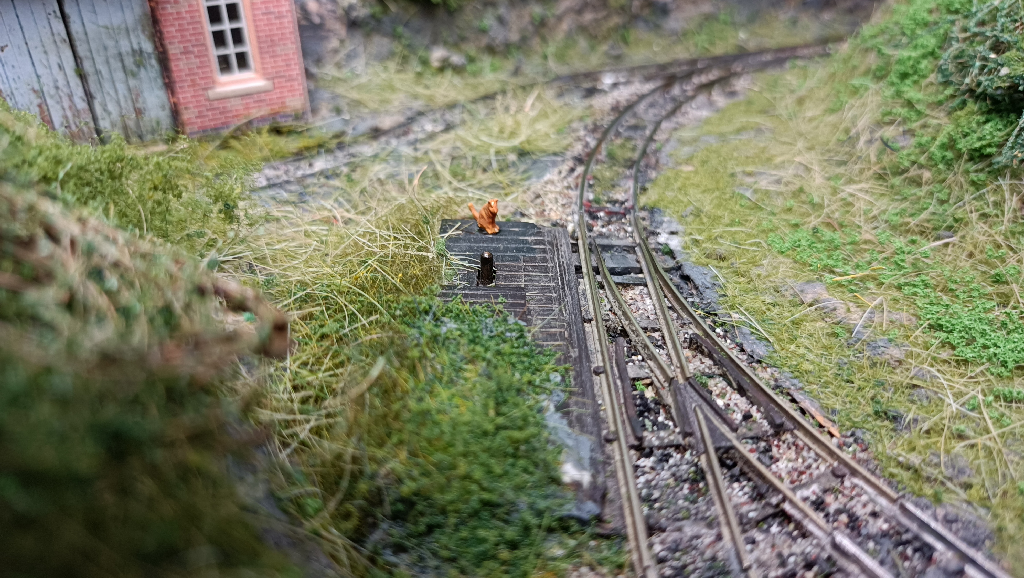
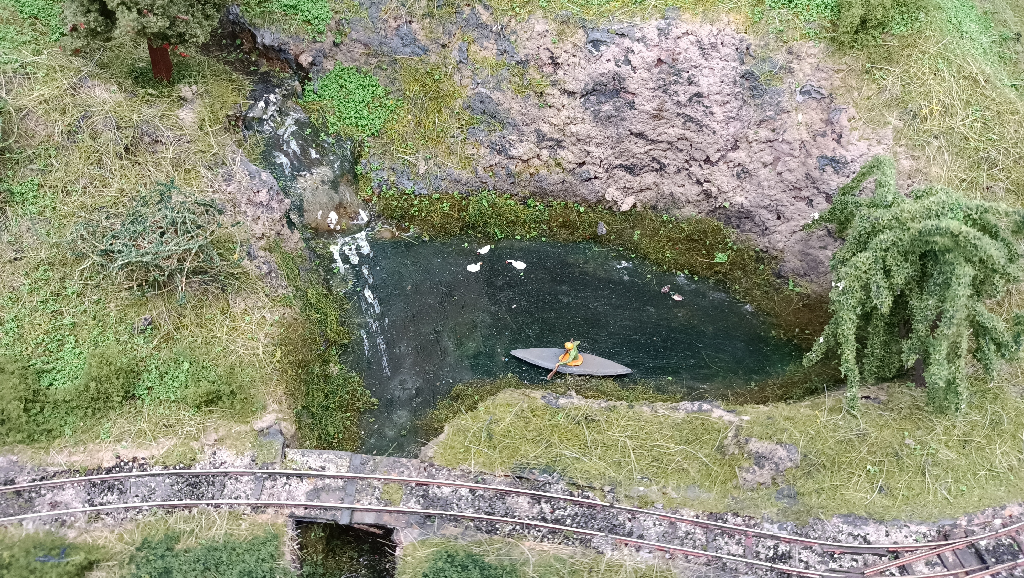
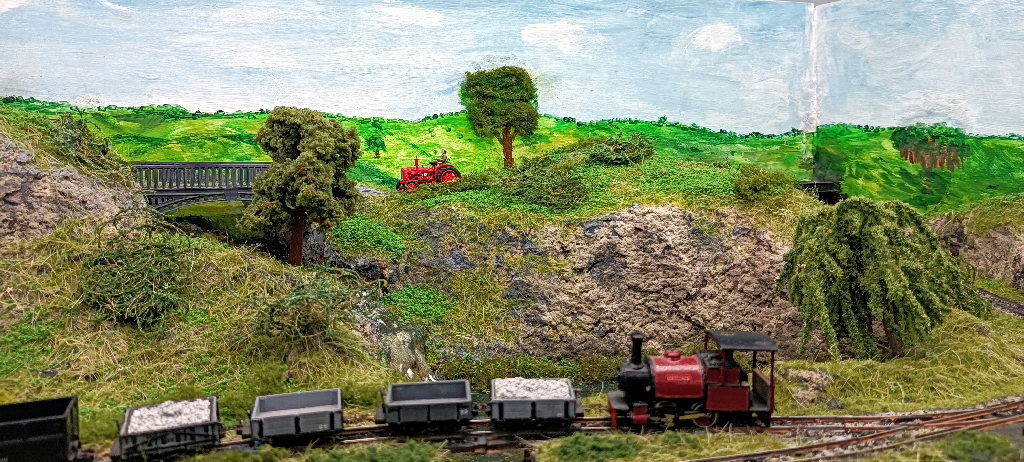
I used the usual method of various flock materials to form the base of the greenery, then added static grass, in 6mm and 4mm lengths. The fibre material looked very like rock, so patches were left bare, and the grass/bushes etc. worked up around the scene. Here are some photos taken just before the exhibition, showing some of the people and animals added –


I also added the proscenium and lighting, shown in the heading photo. Here are a couple of shots from the show –

In light of experience in exhibiting the layout, I made some changes in the following days. These were –
i) Change the position of the fiddle yard point; the train lengths are dictated by the loop length in the visible area. As it stood, the space to shunt stock on the left of the ‘yard (from operators point of view) was shorter than the optimum train length, so the train would poke its nose out under the bridge! The space on the right, and siding length, were more than necessary. So, I removed the point, and moved it to the right, by about 2/3 of the adjacent straight. The exact position was set by the siding, for which I moved the curve out by a portion of straight – the angle was of course unchanged. The operating switch/lever was moved to the new tiebar position.
ii) I also noted that the track in the ‘yard was a little close to the edge (guess how!) I therefore made up a small extension in depth, from a strip of ply, attached to aluminium angle. This is hinged onto the side of the layout, so that it can be folded upward when stored.

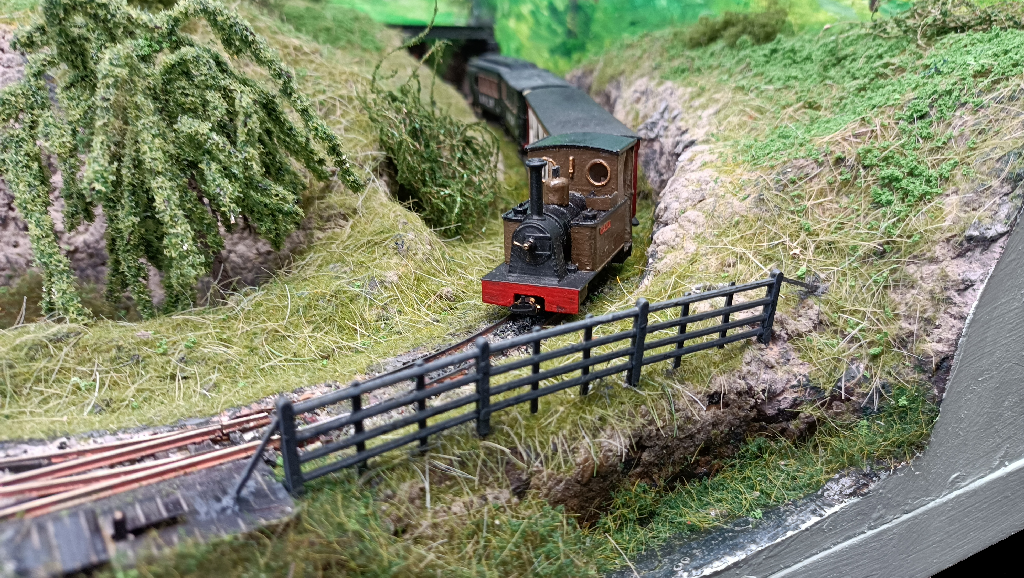
iii) One of my colleagues suggested that there was a danger of the stock taking a plunge over the edge, where the right hand curve (from the front) enters the loop points. I am not sure how fast he thinks the trains will be going(!) but I agreed that a set of fencing would look good in this area –

Two fences were made, to fit either side of the points operating lever (both of which are manually operated). The first was formed from Slaters fence posts, with plastic strip and rod horizontals, at the edge of the bridge over the river linking two lake areas –

The second was a length of Ratio fencing, with bracing angles added –
The two side pieces of the proscenium are bolted to the layout with two M6 bolts each. The front is then attached to the sides, by 4 mm screws. The lighting base is some light “honeycomb” display board, with the LED’s attached by their self adhesive tape; the rear strip is slightly angled toward the layout rear.
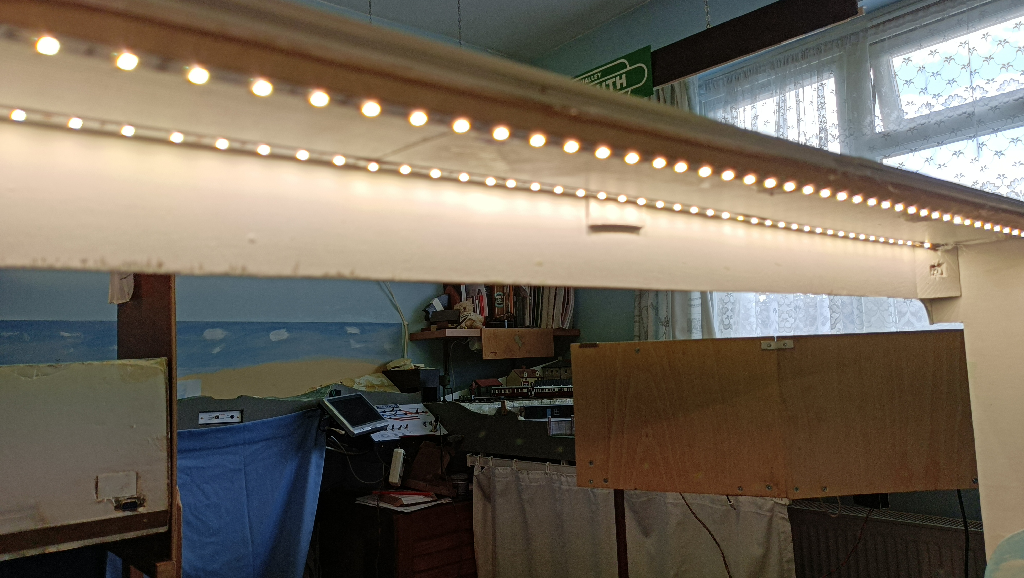
The lighting is two rows of “natural white” LED’s with a 12 volt regulator. At the show, the regulator was independant, and plugged in to a separate mains socket. I have since fitted it into the layout, and connected the mains wire into the track transformer connector block, so that only a single plug is required to energise both power and lighting. The regulator has a low voltage terminal socket, into which the lighting is plugged; this is mounted on the side of the box. Here is a view of the lights, from the rear –
The layout has been packed away now, and be used when I fancy some fun time. However, although I am not in a hurry to return to the mad exhibition scene (having ‘retired’ in 2015) perhaps taking this simple layout to a small show would be possible? So, if any exhibition organisers fancy a corner filler, in the “London and South East” area, please get in touch. Email: tim@elmgate-models.co.uk.
